Finalising in Marvelous Designer
Finalising in Marvelous Designer
Moving forward with Marvelous Designer, I experimented with having the jacket open and closed, by doing this I was able to double check the proportions and fitting around my avatar.
I decided that I wanted to keep the jacket open as I felt it would look better in engine as I could add cloth physics, also if I had left it closed, the vest and trousers would be concealed which I didn't want.


I also experimented with adding a utility belt for my character in which I would put potions or vials.
After finalising the garments to a point where I was happy with how they fit my character, I went back over each piece and increased the Particle Distance as well as changing the Weft and Warp values in order to increase or reduce folds in the clothing. Marvelous Designer has presets for different materials which were a good starting point, however they weren't giving me the folds that I wanted.
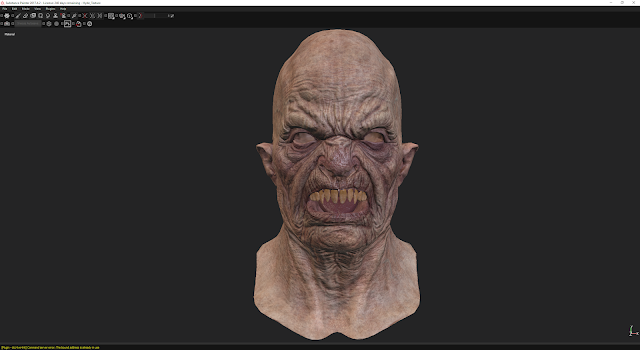
After adjusting values, I was still not happy with how certain aspects were looking in Marvelous Designer, in particular the arms of the jacket. To fix this I made a morph target animation of my character base mesh bending his arms forward slightly and imported the FBX animation into Marvelous.
I then went into animation mode inside of Marvelous and simulated the jacket whilst playing the animation so that the sleeves deformed and creased. This gave me more drastic folds which looked more interesting. I would then later go and move the arms back in ZBrush once the jacket was retopologised.
Below: Setting up the Morph Target animation in 3DS Max
Below: Simulating the garment with the animation in Marvelous Designer

Comments
Post a Comment