Posts

Showing posts with the label Morph Targets

Transformation Animation - Unreal Engine
Image
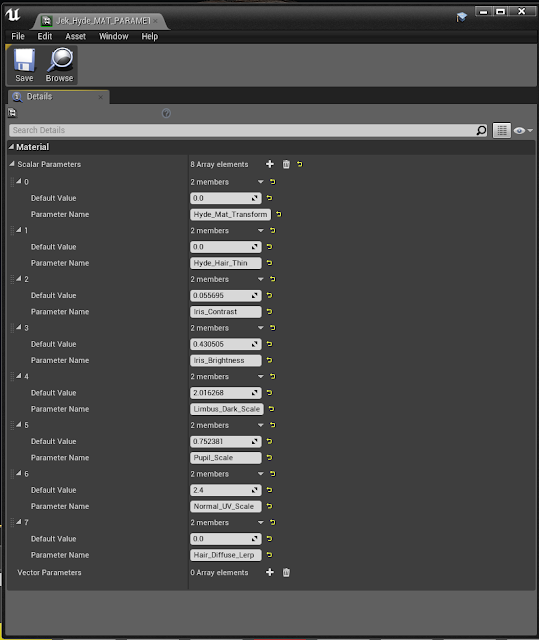
Transformation Animation - Unreal Engine For the Unreal Engine part of the transformation, I ended up using Sequencer to handle everything, as it could be used for the camera, animation and modifying parameter values, all within one track editor, which proved to be really useful. The trickiest part of the transformation was figuring out how to blend between two materials, especially the skin shader as it was complex. For this, I ended up creating two different material functions for the skin shader, one for Jekyll and one for Hyde, then blending them in a material and instancing it, so that I could tweak the skin for both characters, whilst being able to blend between them.  For the blending, I came across a feature called Material Parameter Collections (MPCs), which are basically global scalar or vector parameters that can be used in various ways and accessed through the Sequencer track editor. The great thing about Material Parameter Collections is that the same ...

Transformation Animation - Animating in 3ds Max

Image
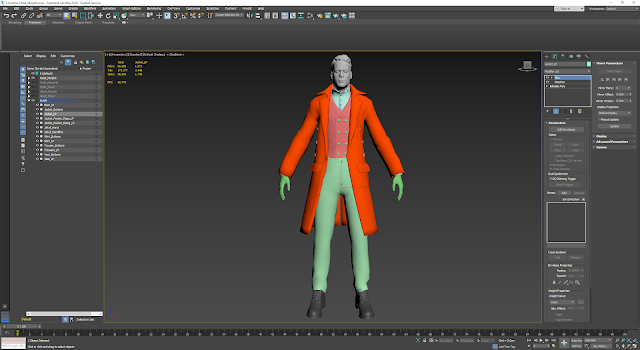
Transformation Animation - Animating in 3ds Max I decided to animate the morph of my character in 3ds Max using the morpher modifier and the rig from Mixamo. I chose to animate in Max, rather than handling all of the morphs in Unreal as it was quicker this way and I was more confident using Max when it came to animation.  I experimented with a few different animations first to get a feel for how I wanted my character to move and react to the transformation. I made sure that the iterations were rapid so I could rule out what I did and didn't like quickly. When it came to using the Morpher modifier, animating the morphs was fairly straight forward as each morph slider could be keyframed, meaning that it was just a case of setting where I wanted each morph to start and stop. I was originally going to have a transformation including the entire body, however as time went on I realised it would take too long to achieve, so I decided to just stick to the head. The bi...

Rigging Using Mixamo

Image
Rigging Using Mixamo For this project I decided to use Adobe's Mixamo to rig my character as it gave quick and fairly good results in a matter of minutes. I could then go in and edit the vertex weights and envelopes for any parts that were slightly off. Another benefit of using Mixamo is that it kept the Morpher modifiers I had previously made in Max, meaning that when the rigged model was downloaded from Mixamo, I still had access to all of the morph targets that I had set up.

Morph Target Practice

Image
Morph Target Practice In order to find out if the my idea for my project would be feasible, and to understand the process of animating the morph targets on my character, I carried out a basic test in Unreal Engine 4. Firstly, I created a deformed variation of my model in ZBrush using the same mesh, so it had the same geometry and UVs. I then exported both the high and low poly models of the man and deformed man, then imported them into 3DS Max. I used the Morpher modifier in Max to pick the deformed mesh for my model to morph into. I then exported the original male mesh ready for use in Unreal. Inside Unreal Engine, I used the Normal maps for both of the models, which I had previously baked in Substance Painter, and set them up to blend in a material. I then made an instance of that material so that I could change the properties of the parameters I had exposed. Inside Unreal, I used the 3rd Person Character template to give me a start with a ca...