Morph Target Practice
Morph Target Practice
In order to find out if the my idea for my project would be feasible, and to understand the process of animating the morph targets on my character, I carried out a basic test in Unreal Engine 4.
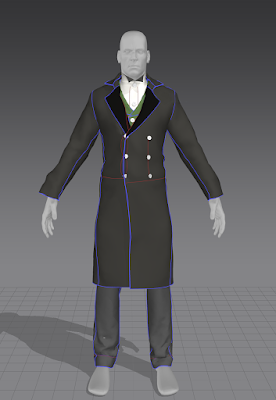
Firstly, I created a deformed variation of my model in ZBrush using the same mesh, so it had the same geometry and UVs. I then exported both the high and low poly models of the man and deformed man, then imported them into 3DS Max.
I used the Morpher modifier in Max to pick the deformed mesh for my model to morph into. I then exported the original male mesh ready for use in Unreal.
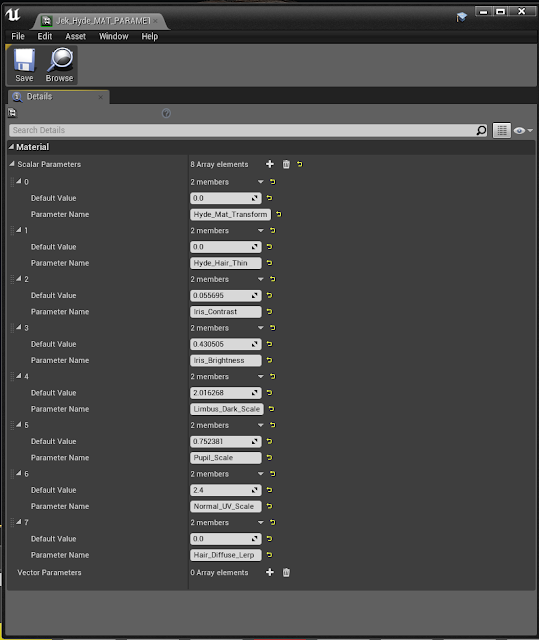
Inside Unreal Engine, I used the Normal maps for both of the models, which I had previously baked in Substance Painter, and set them up to blend in a material. I then made an instance of that material so that I could change the properties of the parameters I had exposed.

Inside Unreal, I used the 3rd Person Character template to give me a start with a camera and some animations I could use. I used Mixamo to get a basic rig for my character which worked well, as this was just a test, I didn't want to spend too much time on it.

I then played around with getting the character to morph back and forth when a key was pressed. I also tested to see if an animation could play at the same time as the morph took place. I found that using Notifies and animation Montages was the way to do this as it allowed me to carry out multiple changes at once. It came out slightly janky and didn't run perfectly but it gave me enough understanding of how I could make the final product work in engine, so I was happy with the result.

Comments
Post a Comment