Posts

Showing posts with the label Texturing

Substance Designer Brick Material
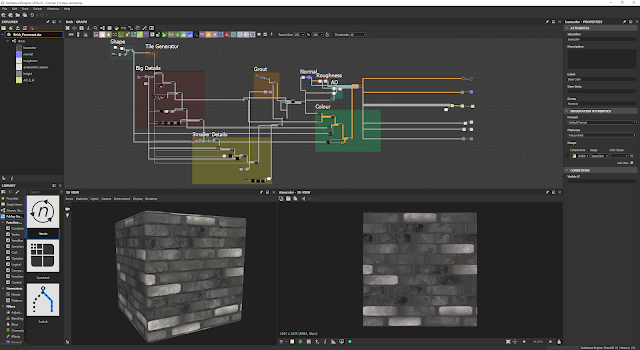
Image
Substance Designer Brick Material I utilised an old brick material I had previously made and tweaked it a bit to use as a floor plane for the characters to stand on. I used an alpha in Unreal to drive opacity so it fades out at the sides, giving a nice spot light feel, like a monologue at a theatre. Substance Designer material node graph: Unreal Engine material node graph: Floor plane in engine: 

Creating the Cane

Image
Creating the Cane Looking at my scene setup in Unreal, and the pose of my characters, I thought it would be a nice touch to create a cane for Hyde as it would make more sense for his hunch, and also fits with the story better as he has one in the book. I decided to settle for an engraved wooden handle fritz cane as I thought this would work well with Hyde's hand.  Cane reference: For the extruded carving pattern, I painted a mask on the handle and extracted it so it was a separate mesh so that I could easily tweak it without affecting the handle.  I then retopologised and unrwrapped it: Cane in Substance Painter with some Smart Materials: Cane in Unreal Engine:

Making The Vial

Image
Making The Vial As I wanted to make my renders and scene more interesting for when it came to the final piece, I decided to create a vial that Jekyll would be observing, to better inform the viewer that this piece is based on Jekyll and Hyde, and that the transformation between the two was caused by this potion. I tried a couple of ways to create the glass, mainly reading up on ways people achieved good results online. I think one of the best resources was on Unreal's documentation on using refraction as they explain what settings and nodes are good and why. As for the liquid, I just had a tiling normal which helped create the wavy liquid effect, and I put a dynamic light inside the mesh  which gave a nice glow effect from within,  creating the illusion of some potent chemical at work. Vial glass and liquid geometry: Glass material node graph: Liquid material node graph: Vial in Unreal:

Changing Eye Textures

Image
Changing Eye Textures Because I was using Unreal's existing eye shader, I chose to replace the models and textures to separate theirs from mine. I created the geometry of my eyeball and matched the UV unwrap so it used the same front projection and was scaled down the same amount as the Unreal example as this has an effect on the shader in engine. I used Texturing.xyz textures for the Iris as they offer quick, realistic results. I used the Displacement and Bump maps that were supplied and used ZBrush to displace them onto a plane so that I could bake the HP Iris onto a flat surface to use as the Normal map texture. I made sure to use layers when displacing each map as they allowed me to fine tune the intensity of the effect, and then I used the Morpher brush to remove any unwanted artefacting that was a result of the displacement. Vadim Sorici's tutorial on Marmoset's website offers a more in-depth description of this process:  https://marmoset.co/posts/how...

Substance Designer Materials

Image
Substance Designer Materials In order to create the materials for the outfit, I decided to utilise Substance Designer to create procedural tile-able textures. I found that Designer has a pretty good built in node called 'Weave Generator' which offers a selection of tile-able weave patterns within the one node, with masks for each. This gave a good starting point for the weaves. However, for the Herringbone Twill pattern, I made a generator instead as I could get more control over how it looked. Below are some screenshots of the materials and graphs in Substance Designer. The good thing about using Designer and Unreal is that the materials can quickly be adjusted and exported to Unreal using a plugin, meaning tweaking is easy. Weave Generator Node: Plain Weave: 2x2 Twill: Fuzzy Wool: Herringbone Twill: Here I experimented will blending two Designer Materials together to create a more interesting effect with more bre...

Unreal Engine Start

Image
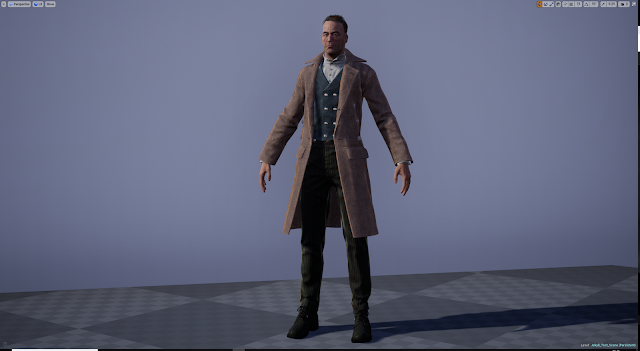
Unreal Engine Start As I was at the texturing point for all of the assets, I decided to import everything into Unreal Engine 4 and start setting up materials to see how the character would look. Originally I played around with the fairly new 'Material Layers' feature in Unreal which worked slightly like Substance Painter in the fact that it has layers which you can assign different materials to and add layer masks. However, the layered material was buggy and often caused crashes, plus I found I was using quite a few layers for texture breakup, so I decided to just handle most of the colour and breakup in Substance Painter and use Unreal for blending tiling normals and subsurface scattering etc. I created a master material to use for the clothing as a lot of the outfit benefited from using the same features such as subsurface scattering and fuzz. Once the master material was setup, I then made material instances for each of the separate clothing pieces so I could alter th...

Hyde Texture Start

Image
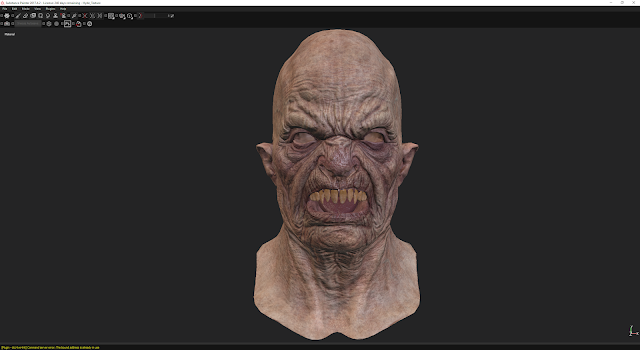
Hyde Texture Start After the sculpt was finalised, it was just a case of redoing the UVs for Hyde's head and hand and mouth, as the geometry was all the same, then baking and texturing in Substance Painter. For the skin, I used the same methods and techniques that I employed with Jekyll. For reference, I found that elderly people's faces offered really good details and colour information that worked well with the look I was after.

Skin Texture In Unreal

Image
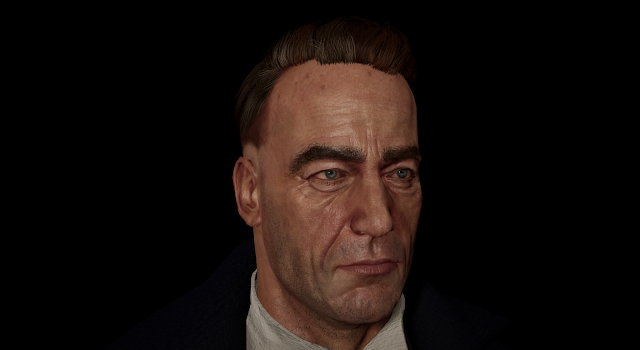
Skin Texture In Unreal For the skin in Unreal Engine, I decided to utilise Saurabh Jethani's skin shader found here:  https://texturing.xyz/pages/saurabh-jethani-creating-realistic-skin-in-ue4 The shader is free to use and Saurabh talks about the setup and breaks down what each part does. The shader itself is an adaptation of the skin shader from the 'Meet Mike' project demo. The skin is still a WIP as I am still texturing as I go however Saurabh Jethani's shader is a great help and offers a lot of customisation. The eyes are from the Meet Mike project however I plan on swapping out the textures with my own at a later point.

Jekyll Skin Texture

Image
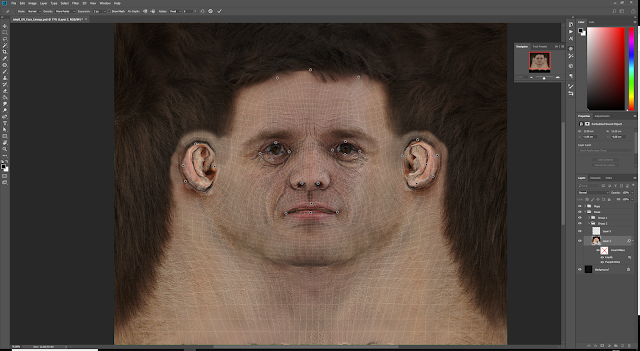
Jekyll Skin Texture For the texturing process of Jekyll, I decided to use Substance Painter as it is popular in Industry and offers great tools and versatility for PBR texturing. I employed the use of scanned, unwrapped face textures as a starting point to project onto my mesh, then finished off the skin texturing with help from the tips and tricks shared by Magdalena Dadela in this GDC video: https://www.youtube.com/watch?v=9ywhVkZBtq8