Posts

Showing posts from April, 2019

Transformation Animation - Animating in 3ds Max

Image
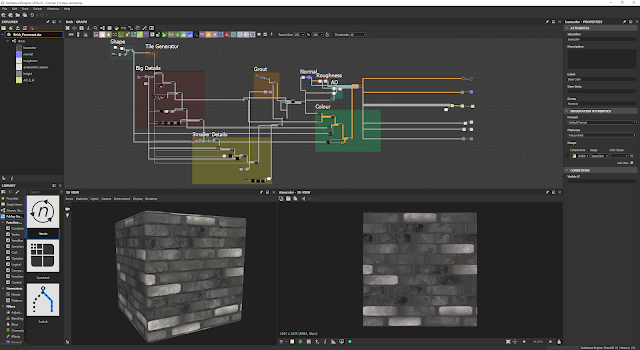
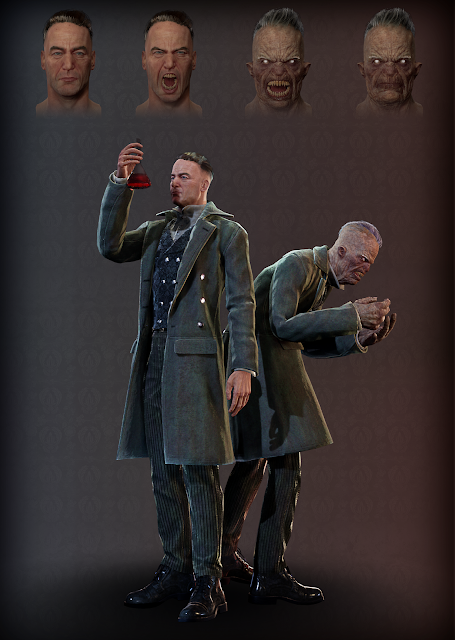
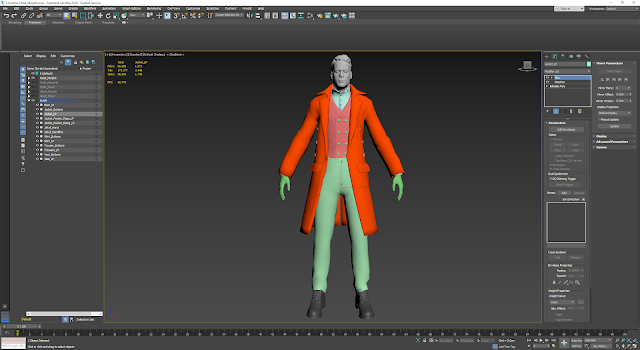
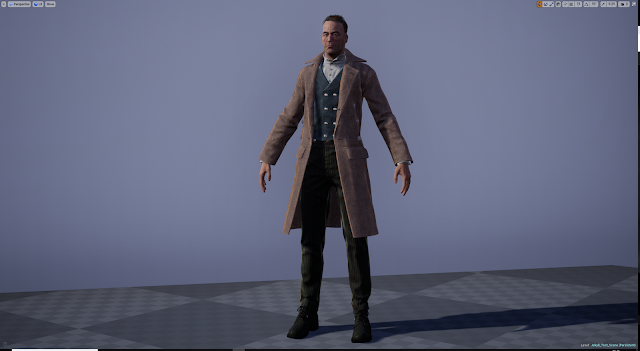
Transformation Animation - Animating in 3ds Max I decided to animate the morph of my character in 3ds Max using the morpher modifier and the rig from Mixamo. I chose to animate in Max, rather than handling all of the morphs in Unreal as it was quicker this way and I was more confident using Max when it came to animation.  I experimented with a few different animations first to get a feel for how I wanted my character to move and react to the transformation. I made sure that the iterations were rapid so I could rule out what I did and didn't like quickly. When it came to using the Morpher modifier, animating the morphs was fairly straight forward as each morph slider could be keyframed, meaning that it was just a case of setting where I wanted each morph to start and stop. I was originally going to have a transformation including the entire body, however as time went on I realised it would take too long to achieve, so I decided to just stick to the head. The biggest

Substance Designer Brick Material

Image
Substance Designer Brick Material I utilised an old brick material I had previously made and tweaked it a bit to use as a floor plane for the characters to stand on. I used an alpha in Unreal to drive opacity so it fades out at the sides, giving a nice spot light feel, like a monologue at a theatre. Substance Designer material node graph: Unreal Engine material node graph: Floor plane in engine: 

Creating the Cane

Image
Creating the Cane Looking at my scene setup in Unreal, and the pose of my characters, I thought it would be a nice touch to create a cane for Hyde as it would make more sense for his hunch, and also fits with the story better as he has one in the book. I decided to settle for an engraved wooden handle fritz cane as I thought this would work well with Hyde's hand.  Cane reference: For the extruded carving pattern, I painted a mask on the handle and extracted it so it was a separate mesh so that I could easily tweak it without affecting the handle.  I then retopologised and unrwrapped it: Cane in Substance Painter with some Smart Materials: Cane in Unreal Engine:

Redoing The Hair

Image
Redoing The Hair I decided to finish off the hair and finalise all the cards and textures as they still needed some work. When I went back to finish off placing the hair cards, I realised that they were a bit all over the place and not didn't flow very well, so I decided to take the lessons I'd learnt from placing them the first time and re-do the hairstyle. I applied the hair diffuse texture onto a plane with the same ratio and cut and extracted hair strips from it. I then imported these strips into ZBrush and made an IMM brush from them, so that I could place a specific hair card where I wanted easily. This allowed me to pick which hair card and texture would fit best. Extracting hair strips in 3DS Max: Hair strips IMM brush in ZBrush, the top bar allows me to change between various hair cards. I made sure to name them to help when picking. Building up the hair from the back up. The base hair cards are basically opaque to make the overall hair

Changing Hand Geometry

Image
Changing Hand Geometry After some initial posing of my characters, I noticed that the hand was deforming a lot which was revealing the lack of geometry, making the edges look too jagged. It is because of this reason that I decided to go back and change the hand models from the first subdivision to the second. This was an easy enough task as the hands were already unwrapped in ZBrush with subdivisions, so it was just a case of exporting and re-rigging the higher poly hands. Below are the comparisons of the old geometry (left) and the new geometry (right):

Scene Render Test

Image
Scene Render Test I set up a basic scene with some rough poses for Jekyll and Hyde to play around with how the materials were looking and to get an idea of composition for my final shots. I liked the idea of a dark background, with subtle lighting illuminating the characters, almost like a monologue in a theatre production. 

Making The Vial

Image
Making The Vial As I wanted to make my renders and scene more interesting for when it came to the final piece, I decided to create a vial that Jekyll would be observing, to better inform the viewer that this piece is based on Jekyll and Hyde, and that the transformation between the two was caused by this potion. I tried a couple of ways to create the glass, mainly reading up on ways people achieved good results online. I think one of the best resources was on Unreal's documentation on using refraction as they explain what settings and nodes are good and why. As for the liquid, I just had a tiling normal which helped create the wavy liquid effect, and I put a dynamic light inside the mesh  which gave a nice glow effect from within,  creating the illusion of some potent chemical at work. Vial glass and liquid geometry: Glass material node graph: Liquid material node graph: Vial in Unreal:

Changing Eye Textures

Image
Changing Eye Textures Because I was using Unreal's existing eye shader, I chose to replace the models and textures to separate theirs from mine. I created the geometry of my eyeball and matched the UV unwrap so it used the same front projection and was scaled down the same amount as the Unreal example as this has an effect on the shader in engine. I used Texturing.xyz textures for the Iris as they offer quick, realistic results. I used the Displacement and Bump maps that were supplied and used ZBrush to displace them onto a plane so that I could bake the HP Iris onto a flat surface to use as the Normal map texture. I made sure to use layers when displacing each map as they allowed me to fine tune the intensity of the effect, and then I used the Morpher brush to remove any unwanted artefacting that was a result of the displacement. Vadim Sorici's tutorial on Marmoset's website offers a more in-depth description of this process:  https://marmoset.co/posts/how

Rigging Using Mixamo

Image
Rigging Using Mixamo For this project I decided to use Adobe's Mixamo to rig my character as it gave quick and fairly good results in a matter of minutes. I could then go in and edit the vertex weights and envelopes for any parts that were slightly off. Another benefit of using Mixamo is that it kept the Morpher modifiers I had previously made in Max, meaning that when the rigged model was downloaded from Mixamo, I still had access to all of the morph targets that I had set up.

Substance Designer Materials

Image
Substance Designer Materials In order to create the materials for the outfit, I decided to utilise Substance Designer to create procedural tile-able textures. I found that Designer has a pretty good built in node called 'Weave Generator' which offers a selection of tile-able weave patterns within the one node, with masks for each. This gave a good starting point for the weaves. However, for the Herringbone Twill pattern, I made a generator instead as I could get more control over how it looked. Below are some screenshots of the materials and graphs in Substance Designer. The good thing about using Designer and Unreal is that the materials can quickly be adjusted and exported to Unreal using a plugin, meaning tweaking is easy. Weave Generator Node: Plain Weave: 2x2 Twill: Fuzzy Wool: Herringbone Twill: Here I experimented will blending two Designer Materials together to create a more interesting effect with more brea

Unreal Engine Start

Image
Unreal Engine Start As I was at the texturing point for all of the assets, I decided to import everything into Unreal Engine 4 and start setting up materials to see how the character would look. Originally I played around with the fairly new 'Material Layers' feature in Unreal which worked slightly like Substance Painter in the fact that it has layers which you can assign different materials to and add layer masks. However, the layered material was buggy and often caused crashes, plus I found I was using quite a few layers for texture breakup, so I decided to just handle most of the colour and breakup in Substance Painter and use Unreal for blending tiling normals and subsurface scattering etc. I created a master material to use for the clothing as a lot of the outfit benefited from using the same features such as subsurface scattering and fuzz. Once the master material was setup, I then made material instances for each of the separate clothing pieces so I could alter th