Changing Eye Textures
Changing Eye Textures
Because I was using Unreal's existing eye shader, I chose to replace the models and textures to separate theirs from mine.
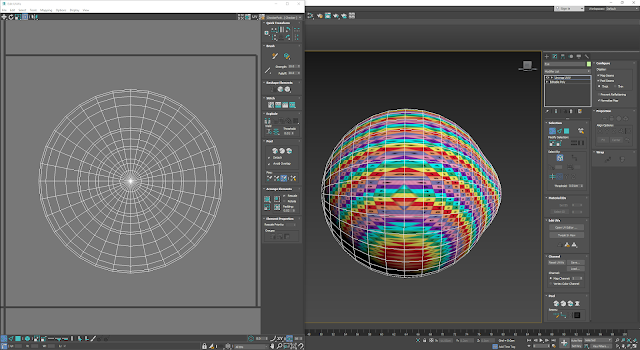
I created the geometry of my eyeball and matched the UV unwrap so it used the same front projection and was scaled down the same amount as the Unreal example as this has an effect on the shader in engine.
I used Texturing.xyz textures for the Iris as they offer quick, realistic results. I used the Displacement and Bump maps that were supplied and used ZBrush to displace them onto a plane so that I could bake the HP Iris onto a flat surface to use as the Normal map texture. I made sure to use layers when displacing each map as they allowed me to fine tune the intensity of the effect, and then I used the Morpher brush to remove any unwanted artefacting that was a result of the displacement. Vadim Sorici's tutorial on Marmoset's website offers a more in-depth description of this process: https://marmoset.co/posts/how-to-create-realistic-hair-peach-fuzz-and-eyes/
Finally, for the Sclera texture, I just created a base colour map in Photoshop and made sure to include enough colour variation as the 'whites' of the eyes actually have a fair bit of colour variety.
Displacement in ZBrush:
Iris normal map and Scelera base colour map:


Eyeball geometry and UV setup:
Eyeball model and textures in engine using Unreal's eye shader:


Comments
Post a Comment