Base Sculpt Start
Base Sculpt Start
Once I had a good starting point idea and enough reference and research to begin, I started sculpting the base body of my character.
I used a base mesh that I had previously made as it was quicker to work with than from a sphere, and also had good topology and UVs.
When sculpting the anatomy of my character, I tried keeping the detail consistent throughout as I went along, rather than detailing one part at a time. I used a lot of anatomical reference, one really useful source being digital scan data as they have multiple angles of a model in good lighting conditions which really helps identify the important shapes and folds. I kept in mind the body type I wanted to create throughout this process as I didn't want to make my character overly muscular, which is a hard task when most anatomy reference is.
First Pass Second Pass


Third Pass Fourth Pass


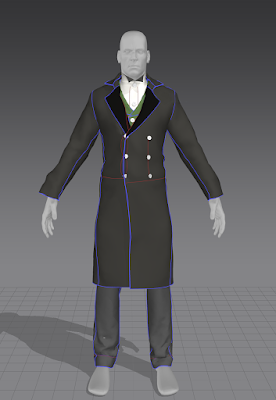
From this stage, because I had worked in subdivisions, I was able to step down to a lower subdivision and export it to use as a base in Marvelous Designer.

Comments
Post a Comment