Refining the Face and adding Teeth
Refining the Face and adding Teeth
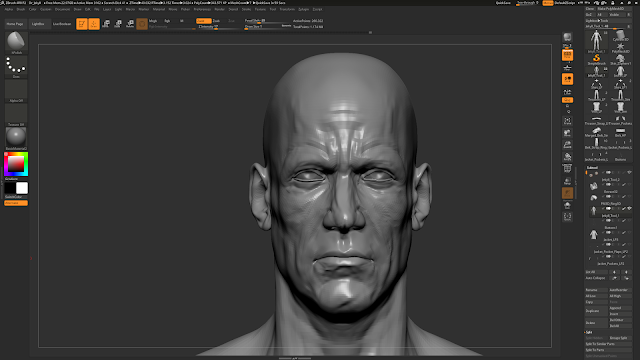
Moving forward, I started to develop my character's facial features more and get them closer to my reference and idea. This was just a case of a lot of small changes, constantly referring to my moodboard and anatomy reference. I added the changes on seperate layers in ZBrush so that I could compare changes, and I could easily revert back if I didn't like the look of what I'd sculpted. This also allowed me to blend between different layers, giving me more variety and control over which features I liked.
An important feature which was missing were the teeth. Adding the teeth helped with the sizing of the mouth, and made me see changes which needed to be made in the face in order for them to look right.
For the teeth, I found that reference of dentures helped a lot as the pictures were close up and could get a 360 shot compared to pictures from inside people's mouths.
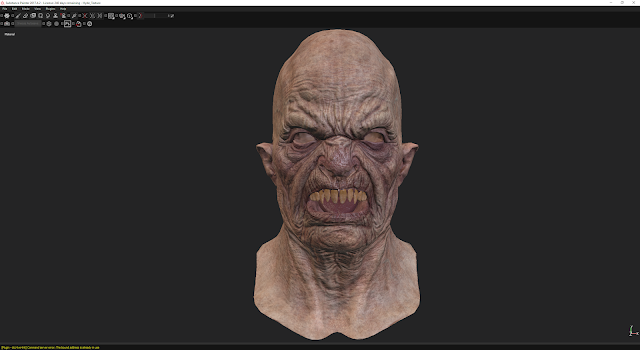
I wanted to make my character's teeth quite grimy and imperfect, with staining and damage, as they would've been back in the Victorian era. This would be shown in the high poly sculpt and texturing.
In order to get the sizing and position inside the mouth correct, I made a layer for my character and sculpted him shouting so that his mouth was open and I could get a better look at how my teeth looked inside the mouth. I chose a shout expression as it looked more natural than just opening his mouth up, also, due to my project and the transformation my character will go through, he is more likely going to shout than anything else, so it was good to test what it would look like.
I also gave the mouth a quick polypaint to help distinguish the mouth and breakup the grey colour.


Comments
Post a Comment