Hyde Sculpt Start
Hyde Sculpt Start
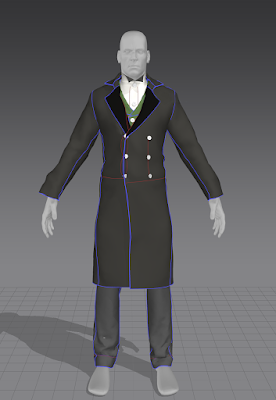
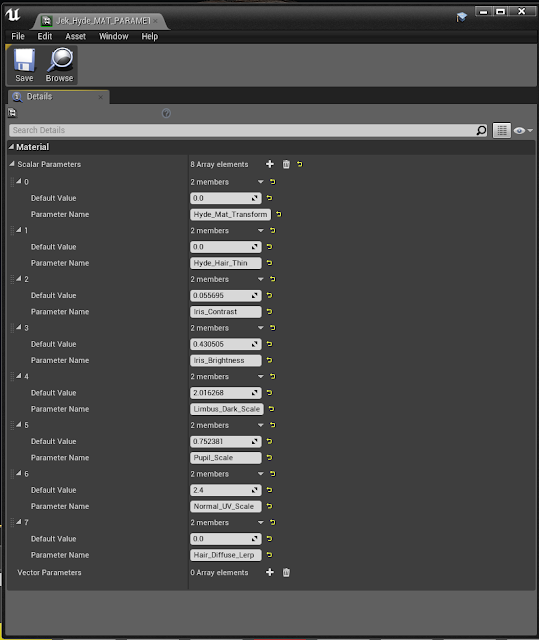
As I had finalised the Jekyll sculpt and started texturing and material setup in Unreal, I could move onto sculpting Hyde using the same geometry as Jekyll.
It was important to first finalise Jekyll as I needed to ensure that the geometry wasn't going to change as this would mean that the morph targets wouldn't work as the Vertex Numbering needed to be exactly the same.
As it was just going to be the head and hands that I morphed, I started a new document with just the head and hand subtools as this saved on the polycount. As I worked on Jekyll with subdivisions, I was able to retain the skin micro and tertiary details in layers, meaning that the Hyde sculpt would already have a base of wrinkle and pore details to work with for the high poly.
I already had a pretty clear idea in my head as to what I wanted Hyde to look like, so I collated a more in-depth moodboard of reference to help me achieve the desired result.
I found that the Goblins from the Harry Potter franchise came as a great reference for what I was after, and also had a lot of photos of the prosthetics and practical effect heads from the movies which are really helpful for the skin reference.
Another great source for inspiration and reference was the really high resolution images from http://www.danielboschung.com/faces/gallery-test-1500pix/ which have great quality photos which I used for skin reference a lot.
Harry Potter Goblin Reference:
Gigapan Photo Reference Example:
Gigapan Photo Reference Closeup:
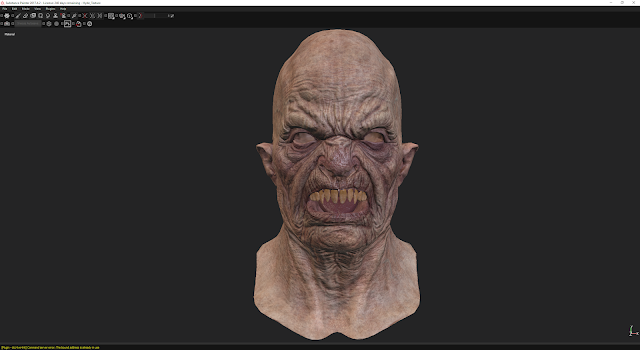
Here is the initial stages of the Hyde sculpt, starting with the Jekyll mesh that I had finalised previously.


Comments
Post a Comment